Want to build your own 24/7 FAQ knowledge base?
LibraryH3lp subscriptions
include unlimited independent internal or public-facing
knowledge bases.
Search the LibraryH3lp Knowledge Base
How do I create a user account within my subscription?
5294 views | Last updated on Sep 19, 2025 users
To create and manage users within your subscription, visit the users management page of the admin dashboard. (US, CA, EU, SG)
Step 1: To create a new user account, click the "CREATE NEW USER" button.

Step 2: On the first screen of the wizard, provide a username and password for your new user.
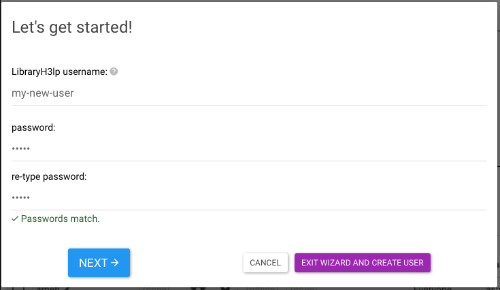
Then click the "Next ->" button and continue to Step 3 below or click the "EXIT WIZARD AND CREATE USER" button to create the new user with default settings.
The default settings for a new user are: no queue assignments (they will NOT be able to answer incoming guest chats but CAN receive transfers), include all users and queues as chat contacts when staffing chat, assign the user to all shared canned message pools (if there are any), and assign the user to all conference rooms (if there are any). By default, users will also not have any elevated permissions on the subscription or be placed inside a folder (if you have folders within your subscription).
Pro Tip! Usernames (and queue names) must be unique across ALL LibraryH3lp subscriptions, not just within your subscription.
Step 3 (Optional): Associate an email address with your new user.
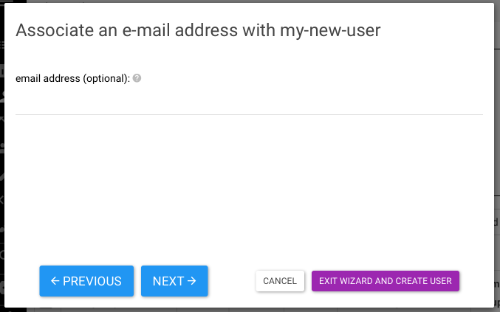
Email addresses (if set) are used for username recovery, password reset, and in tag for follow-up.
If a user does not have an email address associated with their user account, they cannot use the username recovery or password reset features provided on the login page. Instead a local LibraryH3lp administrator or LibraryH3lp support must be contacted.
Then click the "Next ->" button and continue to Step 4 below or click the "EXIT WIZARD AND CREATE USER" button to create a new user with default settings.
Step 4 (Optional): Use an existing user's settings for the new user.
If there is an existing user that you'd like to use as a template for setting up the new user, then this step allows you to do just that.
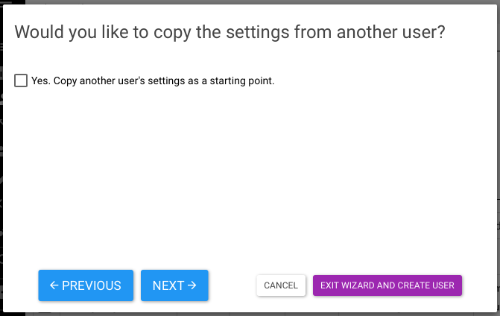
If you do not wish to copy another user's settings, click the "Next ->" button and continue to Step 5 below.
Otherwise click the "EXIT WIZARD AND CREATE USER" button to create a new user with same settings as the existing user.
Step 5 (Optional): Assign the user to staff queues (answer incoming chats from guests).
Incoming chats from guests generally originate from queues. Therefore in order to receive those incoming chats from guests, a user needs to be assigned to staff at least one queue.
Queue assignments are optional because sometimes users only need to chat with other users internally and/or act as Tier 2 support and be able to receive chat transfers when the front line staff need help.
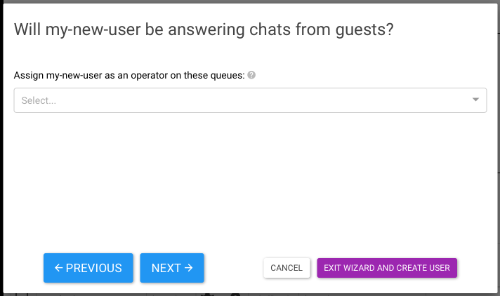
Pro tip! Users can staff multiple queues simultaneously. This allows for quite a bit of flexibility in chat workflows.
Then click the "Next ->" button and continue to Step 6 below or click the "EXIT WIZARD AND CREATE USER" button to create the new user with these queue assignments and the rest of the default settings.
Step 6A (Optional): Set up chat contacts for the new user.
By default, new users will be configured to have all other users and all queues in the subscription as a contact. You can uncheck the boxes to customize the contacts list for the new user.
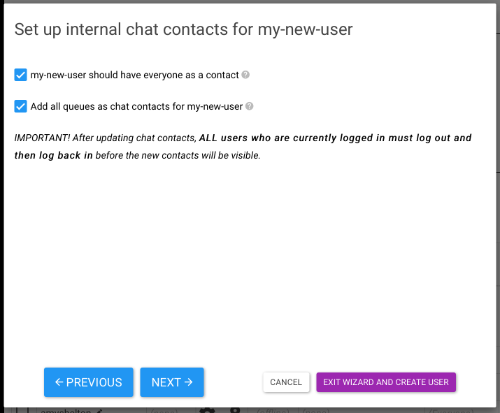
Pro Tip! Users who are mutual contacts can see and chat with each other when staffing chat. It is not necessary to have a user as a contact in order to be able to transfer chats to that user. And it is not necessary to have a queue as a contact in order to be able to transfer chats to that queue.
Then click the "Next ->" button and continue to Step 7 below or click the "EXIT WIZARD AND CREATE USER" button to create the new user with the settings so far as well as the rest of the default settings.
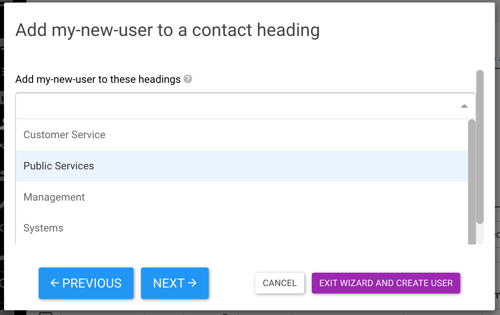
Step 6B (Optional): Place the new user under a contact heading
You will see this step if you have any custom contact headings defined. The default contact heading for users is "Contacts" and the default contact heading for queues is "Queues."
Contact headings provide organization within users' contact lists in the webclient. If a contact is given a heading, the contact will appear under that heading for other users when staffing chat. For example, you could set up headings such that contacts are organized by home department.
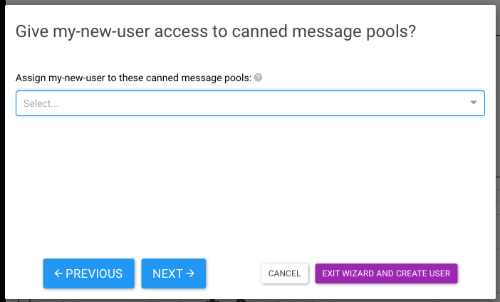
Step 7 (Optional): Assign the new user to shared canned message pools.
If you do not yet have any shared canned message pools, you will not see this screen when creating a new user.
Otherwise, the user will be associated with all canned message pools that exist by default. You can adjust this as desired on this screen.
Then click the "Next ->" button and continue to Step 8 below or click the "EXIT WIZARD AND CREATE USER" button to create the new user with the settings so far as well as the rest of the default settings.
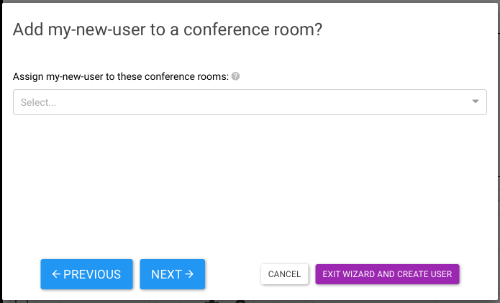
Step 8 (Optional): Assign the new user to conference rooms.
If you do not yet have any conference rooms, you will not see this screen when creating a new user.
Otherwise, the user will be associated with all conference rooms that exist by default. You can adjust this as desired on this screen.
Then click the "Next ->" button and continue to Step 9 below or click the "EXIT WIZARD AND CREATE USER" button to create the new user with the settings so far as well as the rest of the default settings.
Step 9: Grant the user elevated permissions and/or place the new user within a folder.
If you do not have any specialized permissions groups, you'll simply need to designate the user as an Administrator or not. Otherwise, you'll have an opportunity to select one or more permissions groups to which this new user should belong.
If you do not have any folders in your subscription, you will not see the folder option. But if you do have folders in your subscription, you'll have an opportunity to place the new user inside one of the existing folders.
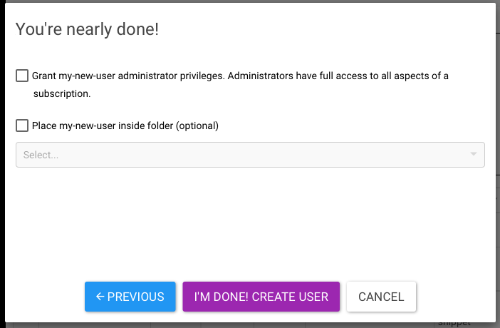
Click "I'M DONE! CREATE USER" to create the new user and exit the wizard.
FAQ URL:
More Help
Search By Topic
Stay Connected
