Want to build your own 24/7 FAQ knowledge base?
LibraryH3lp subscriptions
include unlimited independent internal or public-facing
knowledge bases.
Search the LibraryH3lp Knowledge Base
How do I create and manage Guest Forms to collect data from guests outside of a chat?
Guest Forms are one way for guests to create new tickets or to submit emails to your 3mail mailbox or to your institutional email address.
Guest Forms allow you to collect information from guests (before a ticket or email is created), helping staff gather the details they need from the start. If you use LibraryH3lp Chat, Guest Forms can also provide an alternative contact method when chat is unavailable.
Creating and Editing Guest Forms
You can manage Guest Forms in:
The Form Builder allows you to customize nearly every aspect of a Guest Form, including:
- Form fields
- Labels and placeholder text
- Form styling
- Success messages
- Error messages
You can create as many Guest Forms as needed and customize each one independently.
Pro Tip! It's important to note that Guest Forms are all about guests contacting you outside the context of a chat. So if you are interested in Entry Forms, where extra metadata is collected from guests just prior to the start of a chat, those can be configured separately in the Chat Skin Designer.
Where does the data from my Guest Form go?
When a guest submits a Guest Form, LibraryH3lp automatically delivers it where it needs to go based upon the queue set in the Guest Form.
Tickets → A new ticket is created with the submitted information if your queue has its asynchronous contact module set to "Tickets".
3mail → An email is delivered to your shared mailbox containing the submitted information if your queue has its asynchronous contact module set to "3mail".
Chat → If your queue has "None" set for asynchronous contact but does have an external email address set (for example, your institutional email address), an email is delivered to that external email address containing the submitted information.
The same form experience works across all three.
Adding and Reordering Fields
By default, forms are populated with six special form fields that have important roles:
- guest: The guest's email address
- name: The guest's name (e.g. John Doe)
- question: The message from the guest
- queue: The queue which accepts the form submission. For 3mail, queues map to mailboxes. When neither the tickets nor 3mail modules are connected to a queue, the queue's email address is used for form submissions.
- subject: The subject line of the ticket or email generated by the form submission
- submit: The submit button for the form
Though you can change the types of fields associated with each role, you must have a field that performs each role in your form. For example, you could swap out the "subject" single-line text field for an option field with predetermined options in the dropdown.
To add a custom field to your form, drag it from the Add Items tab into the form builder area.
Fields can be reordered at any time using drag and drop.
To edit a field, click it within the form builder. The Edit Item tab will open, allowing you to modify the field's settings and appearance.
You can also edit labels and placeholder text directly within the form builder.
Pro tip! For custom fields, we recommend changing the auto-generated "Item name" to something meaningful. For example, "student-year" instead of "dropdown-1a5c5077-3c3f-4434-99be-bb392ecf6ad1" for a field capturing if an undergraduate student is a Freshman, Sophomore, Junior, or Senior. Then when you receive a ticket submission or email, the associated form values provided will make more sense.
Removing Fields
To remove a field, first set its Role to None in the field's metadata.
Once the role has been cleared, a Remove from Form button will appear at the top of the field configuration panel.
Click this button to permanently remove the field from the Guest Form.
You must have fields with 'guest', 'queue', 'question', and 'subject' roles present somewhere in the Guest Form even if the items are hidden from the guest or else the Guest Form is not valid.
Viewing Hidden Fields
Some fields may be configured as hidden.
Use the Reveal Hidden Form Fields checkbox at the top of the form builder to control whether hidden fields are displayed while editing.
When hidden fields are concealed, you'll see the Guest Form much as a guest would see it.
Copying a Guest Form
If you need several similar Guest Forms, use the Copy button (tucked away under the "..." actions button) to create a duplicate of an existing form.
You can then make changes to the copy without affecting the original Guest Form.
Previewing a Guest Form
If you'd like to test our your Guest Form before embedding it, you can use the Preview button (tucked away under the "..." actions button) to open your Guest Form in a new browser tab or window.
From there you can interact with your Guest Form as a guest would.
Embedding a Guest Form
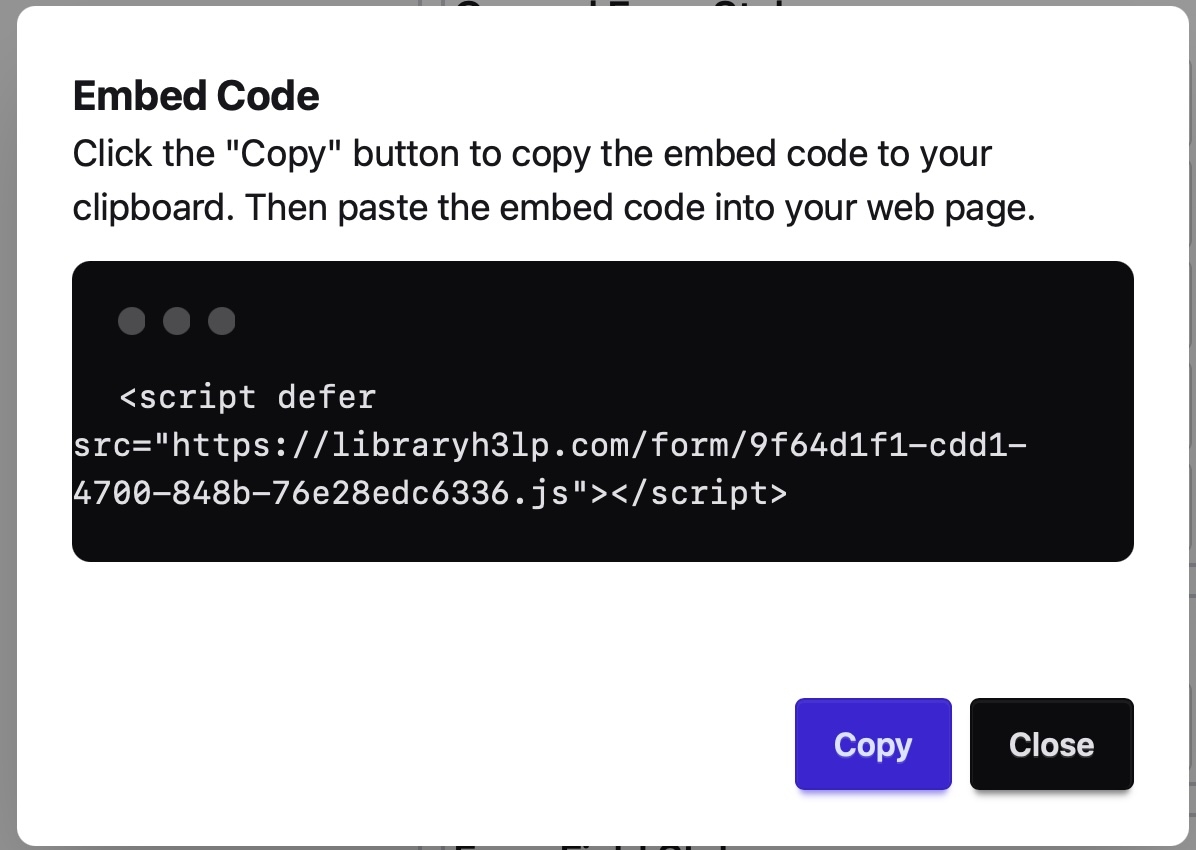
Once your Guest Form is ready, click Embed button (tucked away under the "..." actions button) to generate the Guest Form's embed code.
Copy the generated code and paste it into your website where you would like the Guest Form to appear.
Pro Tip! Guest Form embeds work similarly to LibraryH3lp Chat snippets. Simply copy the generated code and paste it into your page's HTML. If you can't include 3rd party JavaScript on your website, there's an option to embed as a link.
When a guest submits the form, a new ticket or email will be created according to the Guest Form's configuration.
FAQ URL:
More Help
Search By Topic
Stay Connected
